
How to Photograph Butterflies in Your Garden
If you want to learn how to photograph butterflies in your garden, the biggest mistake is chasing them from flower to flower. Better butterfly photos come from timing, patience, simple backgrounds, good light and understanding where butterflies naturally want to land.
You do not need professional gear to take strong butterfly photos. A smartphone can work well, especially in soft morning light. A DSLR or mirrorless camera gives you more control, but the same basic rules apply: move slowly, focus carefully and let the butterfly behave naturally.


How to Photograph Butterflies at the Best Time of Day
The best time to photograph butterflies is usually early morning. Butterflies are cold-blooded, so they are often slower before the sun fully warms them. You may find them resting on flowers, leaves, grasses, fences or stones while they wait for warmth.
Morning also gives you softer light. Harsh midday sun can wash out pale wings and create distracting shadows. Late afternoon can also work well, especially when butterflies return to nectar plants before settling for the evening.
Avoid windy conditions whenever possible. Even a light breeze can move the flower and butterfly enough to ruin sharp close-up photos.
Watch the Butterfly Before Taking Photos
Before you start shooting, watch the butterfly for a minute or two. Many butterflies repeat the same route through a garden. A monarch may return to milkweed. A swallowtail may circle zinnias or lantana. A skipper may keep landing on the same sunny leaf.
Instead of following every movement, choose a good flower patch and wait. This usually produces better photos than walking after the butterfly. Chasing makes the butterfly nervous and leaves you with rushed, blurry images.
Look for areas where butterflies are already active. Nectar plants, sunny leaves, flat stones, host plants and sheltered flower beds are usually good places to wait.
Use Butterfly-Friendly Plants as Natural Photo Spots
A garden designed for butterflies is also easier to photograph. Plant nectar flowers in groups instead of scattering single plants around the yard. Larger flower clusters give butterflies more reason to stay in one place, which gives you more time to compose the shot.
Good nectar plants for butterfly photography include zinnias, coneflowers, lantana, verbena, asters, blazing star, salvia, Joe-Pye weed, milkweed and butterfly weed. These flowers give butterflies a place to feed while also adding color to your photos.
Host plants matter too. These are the plants caterpillars eat. Monarch caterpillars need milkweed. Black swallowtail caterpillars use plants in the carrot family, including dill, fennel and parsley. Fritillaries use violets. Adding host plants can help keep butterflies returning to your garden instead of just passing through.
For more garden planning help, see our guide to building a butterfly garden from scratch and our article on common backyard butterflies.
Move Slowly and Approach From the Side
Butterflies react quickly to sudden movement, shadows and vibrations. Do not walk straight toward one and lean over it. That usually makes it fly away.
Start farther back than you want to be. Take one photo from a distance. Then move one step closer, pause and take another. Repeat this slowly. This gives you backup photos in case the butterfly leaves before you get close.
Approach from the side when possible. Try not to cast your shadow over the butterfly. If it stops feeding, closes its wings suddenly or turns away from you, pause and let it settle again.
Keep the Background Simple
A clean background is one of the fastest ways to improve butterfly photography. Before taking the photo, look behind the butterfly. Garden hoses, fences, white walls, cars, plant labels and bright clutter can ruin an otherwise good image.
Move a few inches left, right, higher or lower until the background looks cleaner. Dark green foliage, shaded plants or distant flowers usually work better than busy garden clutter.
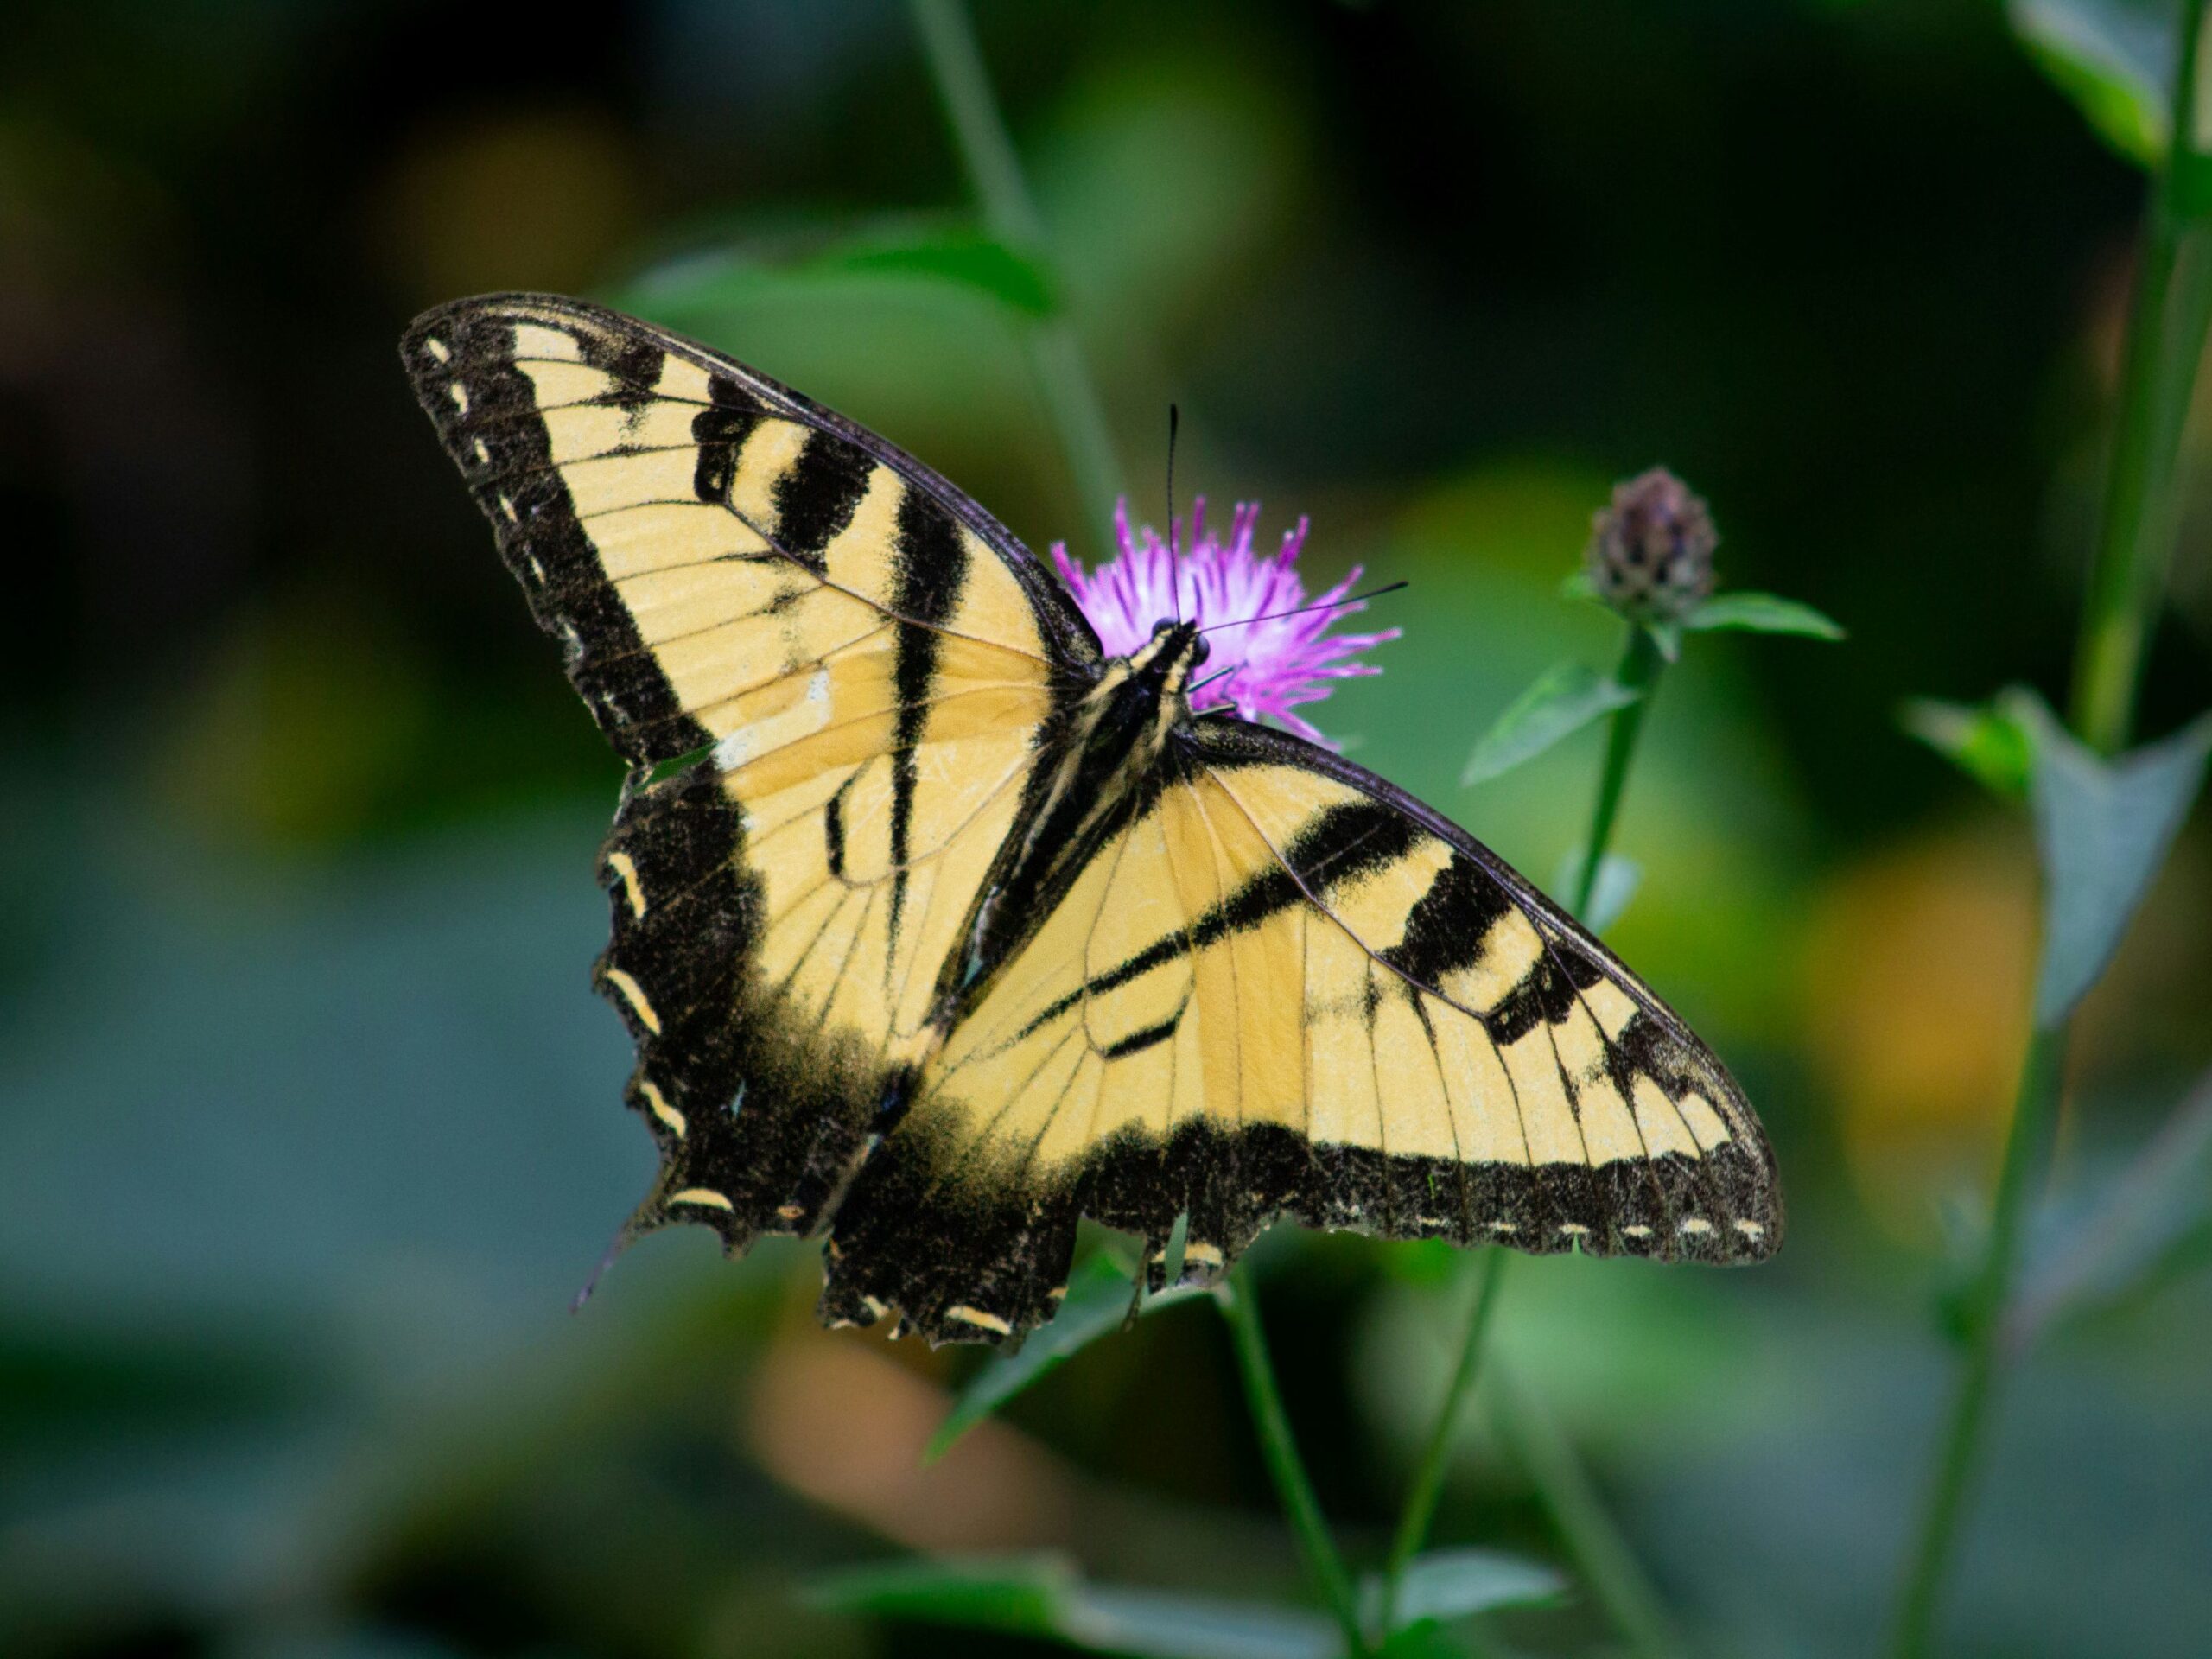
Get down to the butterfly’s level when possible. Photos taken from above often look flat. A side view usually shows the butterfly’s body, wings and flower more naturally.

Focus on the Butterfly, Not the Flower
One common mistake is letting the camera focus on the flower instead of the butterfly. For a strong close-up, the butterfly’s body and eyes should be sharp. If the flower is sharp but the butterfly is soft, the photo usually feels like a miss.
On a phone, tap directly on the butterfly before taking the picture. If the wings look too bright, lower the exposure slightly before shooting.
On a DSLR or mirrorless camera, use a single focus point when possible. Place that point on the butterfly’s head or body. If the butterfly is moving, continuous autofocus and burst mode can help.
Use the Right Camera Settings for Butterfly Photography
If you are using a camera with manual or semi-manual controls, start with a fast shutter speed. Butterflies move quickly, and even when they appear still, their wings may be vibrating or opening and closing.
Good starting settings include:
- Shutter speed: 1/500 second or faster for active butterflies
- Aperture: f/5.6 to f/8 for more wing detail
- ISO: Raise as needed to keep the shutter speed fast
- Focus mode: Continuous autofocus for moving butterflies
- Drive mode: Burst mode for quick sequences
If the butterfly is resting in calm conditions, you may be able to use a slower shutter speed. If it is feeding, fluttering or moving between flowers, stay faster.
Smartphone Tips for Photographing Butterflies
You can photograph butterflies with a smartphone if you work carefully. The main problem is usually digital zoom. Heavy digital zoom often makes butterfly photos look soft and grainy.
Use these smartphone butterfly photography tips:
- Clean the phone lens before shooting.
- Tap the butterfly to set focus.
- Lower brightness if the wings look washed out.
- Avoid heavy digital zoom.
- Use the phone’s telephoto lens if it has one.
- Take several photos while the butterfly is still.
- Use portrait mode carefully because it can blur wing edges.
Do not assume one photo is enough. Butterflies change position constantly. Take several shots and delete the weak ones later.
Pay Attention to Wing Position
Wing position can make or break a butterfly photo. Open wings show color and pattern. Closed wings often reveal detailed underside markings. Both can make excellent photos, but the angle matters.
Try to keep the wings as parallel to the camera as possible. If one wing is much closer to the lens than the other, only part of the butterfly may be sharp.
If the butterfly keeps turning around a flower, wait. It may rotate into a better position within a few seconds. Patience usually beats rushing.
Photograph Butterfly Behavior
Do not limit yourself to simple butterfly portraits. Behavior makes photos more interesting and useful. A butterfly feeding, basking or laying eggs tells a better story than a static image with no context.
Look for butterflies:
- Sipping nectar from flowers
- Basking with open wings in the sun
- Resting in the morning
- Perching on stones, leaves or garden paths
- Interacting with another butterfly
- Laying eggs on host plants
- Feeding on damp soil or fallen fruit
These moments also help you learn what is happening in your garden. Over time, you may notice which plants attract the most activity and which butterfly species return regularly.
Protect Butterflies While Photographing Them
Good butterfly photography should never harm the insect. Do not handle butterflies, trap them, chill them, spray them or force them into position. A natural photo is better than a staged photo that stresses the butterfly.
Also watch where you step. Host plants may have eggs or caterpillars on them. Avoid crushing seedlings, caterpillars or chrysalis sites while trying to get closer.
Use pesticides carefully in butterfly gardens. Many insecticides can harm butterflies and caterpillars, even when the product is aimed at other garden pests. The University of Florida IFAS Extension recommends choosing plants that support butterflies and being cautious with pesticide use. The University of Minnesota Extension also provides useful guidance on creating butterfly-friendly gardens.
Common Butterfly Photography Mistakes
If your butterfly photos are blurry, cluttered or disappointing, the problem is usually one of these mistakes:
- Shooting in harsh midday light: Try early morning or late afternoon instead.
- Chasing butterflies: Wait near flowers they already like.
- Using a shutter speed that is too slow: Increase shutter speed for moving butterflies.
- Ignoring the background: Move slightly to remove clutter.
- Focusing on the flower: Tap or focus directly on the butterfly.
- Getting too close too fast: Approach slowly and pause often.
- Taking only one photo: Shoot several frames and choose the best one later.

Create a Garden Photo Spot for Butterflies
If you want better butterfly photos throughout the season, create a small area of the garden specifically for photography. Choose a sunny, sheltered location with nectar flowers grouped together. Add host plants nearby so butterflies have more reasons to stay.
Place taller plants toward the back and medium-height flowers near the front. This gives you cleaner backgrounds and easier shooting angles. Leave yourself a small path or standing area so you can photograph butterflies without stepping into the bed.
A few flat stones can also help because butterflies may use them for basking. Keep the area natural and uncluttered. Too many garden decorations, plant labels and supports can make the photos look messy.
Final Tips on How to Photograph Butterflies
Learning how to photograph butterflies is mostly about slowing down. Pick the right time of day. Watch where butterflies land. Move carefully. Focus on the butterfly’s body and eyes. Keep the background simple. Take more photos than you think you need.
The best butterfly photos usually happen when the butterfly is relaxed and behaving naturally. Build a garden that attracts them, give them space and let the photo come to you.
With the right plants, soft light and a little patience, your own backyard can become one of the best places to photograph butterflies up close.

Join the discussion
Sign in to join the discussion
Comments are open to BBB members. Sign in to your free account to share your experience, ask questions, and reply to other readers.
Free to join. No credit card. Founding Member badge for the first 500 spots.